Table of Contents
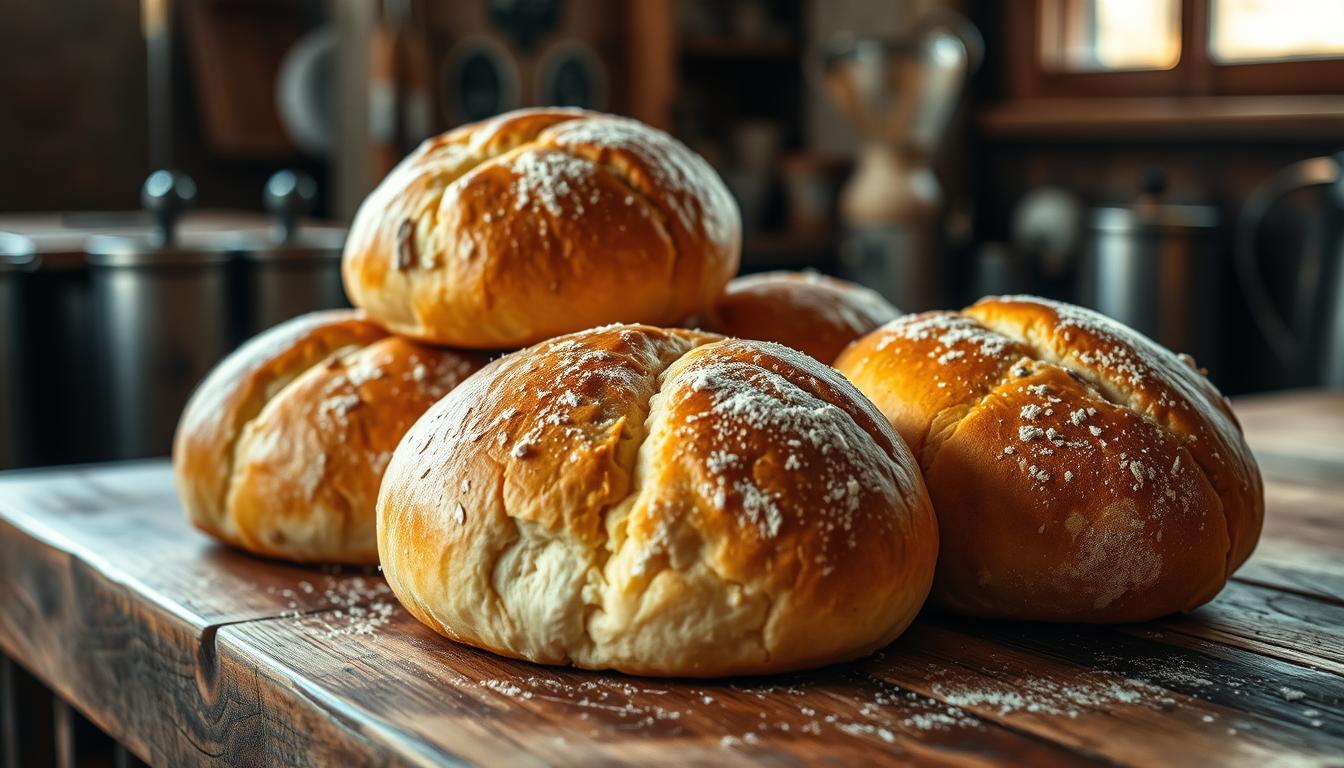
“The best things in life are simple.” – Julia Child’s wisdom is perfect for quick sourdough rolls. These homemade rolls mix tradition with speed, giving you bakery-style results in hours, not days. No more long waits for ferments—learn to bake rolls that are full of tangy flavor and soft.
Whether you’re busy or new to baking, this guide will help you make quick sourdough rolls. You’ll find ways to balance time and taste, using common ingredients. Say hello to rolls that taste like they took hours to make, but didn’t.
Key Takeaways
- Quick sourdough rolls cut prep time without sacrificing flavor.
- Beginners can achieve professional results with simple techniques.
- Traditional sourdough flavor is possible even with a fast schedule.
- No special tools needed—use your kitchen’s existing equipment.
- Customize recipes with herbs, seeds, or spices for unique twists.
The Magic Behind Quick Sourdough Rolls
Every perfect batch of quick sourdough rolls is a mix of science and timing. Modern ways use fermentation to cut hours off without losing flavor. Learn how these fast sourdough recipes make sourdough easy for busy kitchens.
Understanding Fast Fermentation Techniques
Speed comes from controlling three things: starter strength, temperature, and dough hydration. A strong starter doubles in 4 hours when fed. Warm places (75–80°F) make yeast work faster, and dough that’s a bit wet (65–70%) rises quicker.
These changes make dough rise faster without losing its texture.
Benefits of Quick vs. Traditional Methods
- Time efficiency: Ready in 4–6 hours vs. 12+ hours for traditional methods.
- Consistent results: No overnight waits mean less guesswork.
- Weeknight practicality: Perfect for meals planned at the last minute.
What Makes These Rolls Special
These rolls have the tang and soft crumb of classic sourdough but faster. Their tight crumb stays moist longer, and a bit of acidity is great with butter or spreads. Unlike long-fermented breads, they offer convenience without losing the fast sourdough recipes charm: a mix of chewy crust and soft inside. They’re perfect for families who want homemade bread without waiting.
Essential Ingredients for Perfect Sourdough Rolls
Mastering the easy sourdough bread recipe begins with the right ingredients. Each part adds to the rolls’ unique texture and taste. Let’s look at what you’ll need:
- Flour: All-purpose flour is great for beginners. Bread flour makes the rolls chewier. Whole wheat adds a nutty flavor.
- Water: Use warm water (85–95°F) to activate the starter. You can use filtered or tap water.
- Salt: Non-iodized salt balances the flavor and controls fermentation. A small amount is enough.
- Sourdough Starter: This live culture is key. An active starter ensures the rolls rise and taste tangy.
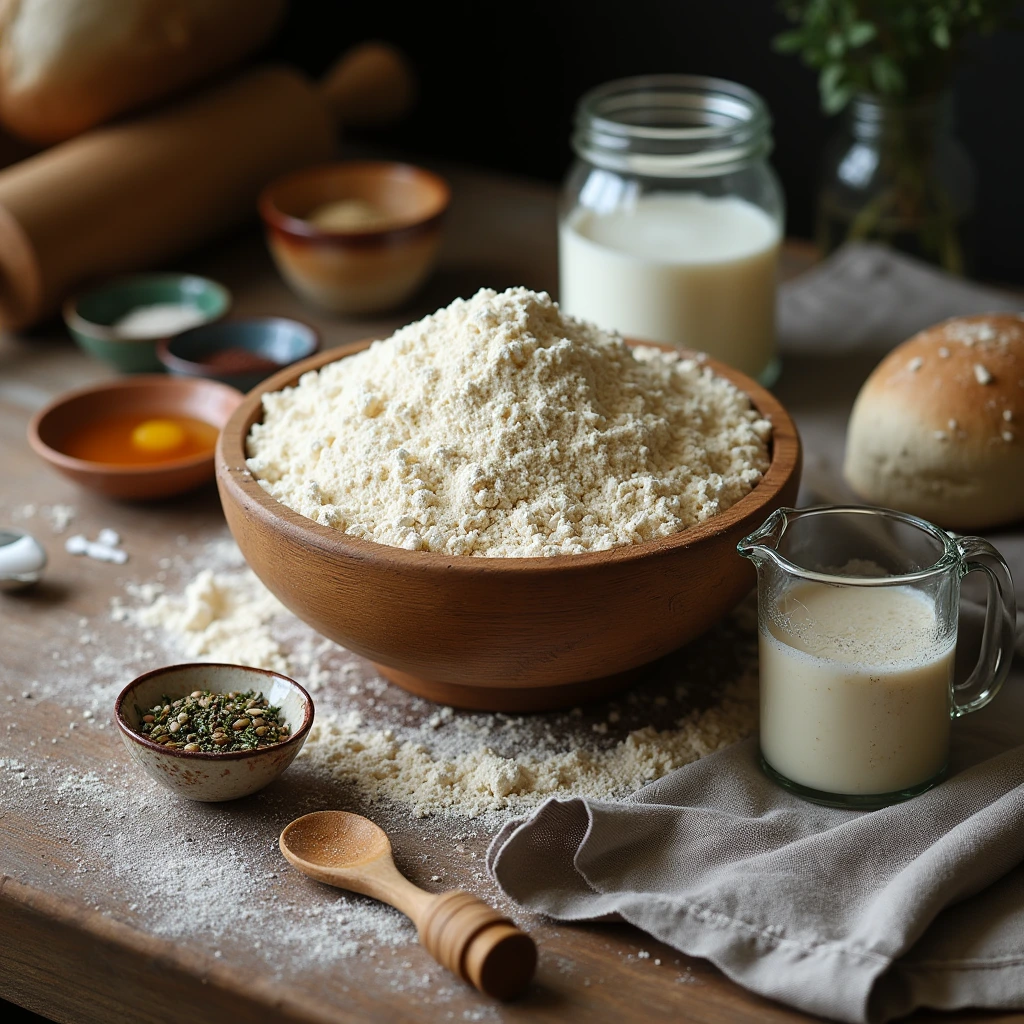
Adding honey, seeds, or herbs can enhance the flavor. But, keep your ingredients simple. Use a scale to measure flour accurately. This prevents over-flouring. You can also substitute ingredients like using whole wheat instead of all-purpose flour. And, filtered water works just as well.
Every choice you make affects the final product. So, pick wisely. With these basics, you’re ready to start building your starter.
Creating and Maintaining Your Sourdough Starter
Mastering your sourdough starter is key for quick-rise rolls. Follow these sourdough starter tips to create a reliable base for your recipes. A healthy starter needs proper feeding and observation.
Making a Simple Starter from Scratch
Begin with equal parts flour and filtered water. Mix in a clean jar, then cover loosely. Let it sit at room temperature. Feed it daily with equal parts flour and water, discarding half each time. By day 4, it should bubble actively.
- Day 1: Combine 50g flour + 50g water.
- Days 2-3: Discard half, feed again. Observe bubbles.
- Day 4: Test rise by folding dough—if it doubles, it’s ready.
Signs of a Healthy, Active Starter
Look for a yeasty smell, a bubbly surface, and a 50% rise after feeding. A healthy starter floats in water.
Feeding Schedule for Quick Results
For fast growth, feed every 12 hours at room temperature. Use unbleached flour and filtered water. This schedule cuts fermentation time without losing flavor.
Troubleshooting Common Starter Issues
If your starter slows down, feed it more often. Mold? Discard contaminated parts and start fresh. Separation? Mix in more flour and feed aggressively. These sourdough baking tips help revive sluggish starters.
- Lethargic bubbles? Feed more often.
- Separation? Add flour to thicken, then feed.
- Foul smell? Discard half and reset feeding.
Consistency and patience are crucial. A healthy starter turns into perfect rolls in days, not weeks.
Quick Sourdough Rolls Recipe: Step-by-Step Guide
Ready to bake your own quick sourdough rolls? This guide will help you make simple sourdough rolls easily. You can use a stand mixer or your hands. You’ll get a tender crumb and a crisp crust, all without waiting too long.
Mixing Your Dough
Start by mixing 100g active starter, 300g flour, 200g water, and 6g salt in a bowl. Mix until just combined. Then, fold the dough every 20 minutes for 30 minutes. This method helps build gluten for a chewy texture.
If you prefer, use a stand mixer on low speed for 5 minutes.
Quick Fermentation Process
Let the dough rest at 75–80°F for 3–4 hours. Look for bubbles and a 50% increase in volume. A poke test showing slow rebound means it’s ready. If your kitchen is cooler, adjust the time.

Shaping Perfect Rolls
Divide the dough into 8 equal pieces. Shape each into rounds by gently cupping and rotating. This creates tension. Dust lightly with flour to prevent sticking.
Arrange the rolls on parchment, covered with a damp cloth. This helps while shaping the remaining pieces.
Proofing Times and Temperatures
Proof the rolls in an 80–85°F environment for 1–2 hours. They’re ready when they hold a gentle press briefly. If your kitchen is cooler, they might need more time. Avoid over-proofing to keep the rise during baking.
Baking Techniques for Soft and Chewy Texture
Getting the right texture in sourdough bread baking is all about mastering oven techniques. Steam, temperature, and timing are crucial. They work together to make rolls soft inside and chewy. Here’s how to get it just right for delicious sourdough bread.
Steam keeps the crust from drying out and helps the dough rise. Here are some ways to add moisture:
| Method | How to Use | Benefits |
|---|---|---|
| Preheated Dutch Oven | Place dough inside, add ½ cup boiling water when baking starts | Even heat and steam retention |
| Boiling Water Pan | Set a pan of boiling water on the oven’s lower rack | Easy setup for any oven |
| Oven Steam Setting | Use a built-in steam function if available | Hands-free steam control |
Preheat your oven to 450°F (230°C) for 30 minutes. Bake rolls for 15–20 minutes. Rotate the pan halfway to ensure even browning. Check doneness by tapping the base—if it sounds hollow, they’re ready. Overbaking makes them dry, while underbaking makes them gummy.
Adjust timing if edges brown too fast. Lower the heat by 25°F and cover edges with foil. Avoid opening the oven too early to keep the steam in. These steps help you get a crisp crust and a tender inside. This is what makes sourdough bread so delicious.
The Art of Scoring and Styling Your Rolls
Scoring isn’t just a step in baking—it’s your creative canvas. Every cut you make shapes how your homemade sourdough rolls rise and look. Start by mastering basic patterns before diving into decorative styles.
Begin with simple sourdough baking tips like straight lines or diagonal slashes. These let steam escape evenly while giving rolls a rustic charm. For advanced flair, try:
- Curved “S” shapes for elegance
- Star patterns using three intersecting lines
- Braided dough edges for textured edges
Decorative designs can include:
- Herb sprigs pressed into dough before baking
- Seeds sprinkled along scored lines
- Flour dustings for contrast
Essential tools for precision:
| Tool | Use |
|---|---|
| Razor blade | Clean, sharp scores |
| Lame knife | Curved patterns |
| Scissors | Edging braids or twists |
| Paring knife | DIY alternative for basic cuts |
Experiment with patterns to match occasions. A simple cross works for weeknight meals, while intricate swirls impress guests. Remember: scoring depth matters—¼ inch cuts prevent over-rising. These sourdough baking tips turn ordinary dough into showstopping homemade sourdough rolls everyone will admire.
Tips for Achieving That Perfect Sourdough Flavor
Mastering flavor balance is key to perfect sourdough rolls. These sourdough baking tips will help your creations match the best delicious sourdough bread from local bakeries.
Balance Acidity with Natural Sweetness
Control fermentation time to adjust sourness. A shorter rise softens the tang, while longer fermentation makes it stronger. Add a little honey or molasses, about 1-2% of flour weight, to balance the acidity without hiding the bread’s earthy taste.
Enhance with Subtle Add-Ins
- Infuse flavor with sea salt crystals for a briny contrast
- Stir in toasted seeds (sesame, sunflower) for nutty undertones
- Try folded-in herbs like rosemary or thyme sprigs
Mix additions gently to keep the dough’s structure intact.
Time Your Fermentation Strategically
Cold fermentation is a game-changer. Refrigerate the dough overnight to slow down yeast activity. This lets flavors mature without over-acidifying. It’s like making traditional delicious sourdough bread in half the time.
Keep an eye on your starter’s activity. Active starters develop flavor faster than slow ones.
Common Mistakes to Avoid When Making Sourdough Rolls
Mastering sourdough baking tips means knowing pitfalls to sidestep. These errors can ruin even the best fast sourdough recipes. Here’s how to fix them:

- Ignoring starter activity: Use a bubbly, doubled starter. A sluggish starter slows fermentation in quick recipes.
- Temperature neglect: Keep dough between 75–80°F. Cooler temps stall fast rises; warmer temps overactivate yeast.
- Over-proofing: Watch for dough expanding 1.5x its size. Over-proofing causes dense centers in quick batches.
- Incorrect kneading: Mix just until ingredients combine. Overkneading tightens gluten, underkneading leaves holes.
- Baking without steam: Create moisture with a water pan or spray—dry crusts ruin chewy texture.
Time management matters: Adjust proofing windows based on room temperature. Measure flour by weight, not volume, to avoid dry or sticky dough. Test oven readiness with an instant-read thermometer for consistent results. These sourdough baking tips turn mistakes into learning steps. They ensure your next batch of fast sourdough recipes shines.
Creative Variations for Your Homemade Sourdough Rolls
Mastering the easy sourdough bread recipe is just the start. Now, let’s make your homemade sourdough rolls truly yours. Try different hydration and mixing methods to change the taste. Keep the quick fermentation time the same.
Sweet and Savory Options
Make rolls into breakfast goodies by adding 2 tablespoons of honey to the dough. Or mix 1 teaspoon of cinnamon with 1 tablespoon of sugar for a sweet swirl. For savory rolls, add ½ cup of shredded cheese or 2 minced garlic cloves.
For a Mediterranean twist, add ¼ cup of chopped sun-dried tomatoes or olives.
Incorporating Seeds and Grains
Make your rolls healthier with 1 tablespoon of flax or sesame seeds. Sprinkle poppy seeds on top for extra crunch. Mix in ¼ cup of rolled oats for texture.
Coating with cornmeal before baking gives a rustic look.
Seasonal Flavor Inspirations
Spring: Add chopped fresh herbs like dill or basil. Summer: Mix in 1 lemon zest. Autumn: Add 1 teaspoon of pumpkin pie spice. Winter: Mix ½ teaspoon of nutmeg with 1 teaspoon of cinnamon.
If you add wet ingredients like fruit, proofing time might need a 10-minute boost.
Storing and Refreshing Your Sourdough Rolls
Learn how to keep your homemade sourdough rolls fresh. Whether for tomorrow’s breakfast or later, these tips will help. Your sourdough bread baking will stay delicious.
- Room Temperature (1–2 days): Wrap cooled rolls in a clean towel or linen cloth. Put them in a basket or container that breathes. Don’t use plastic to avoid sogginess.
- Refrigeration (3–5 days): Store in an airtight container with parchment paper. Let them come to room temperature before eating for the best texture.
- Freezing (up to 3 months): Wrap baked rolls in parchment and foil. Unbaked dough can be frozen for later baking. Thaw frozen rolls in the fridge overnight before reheating.
Make less-fresh rolls taste better with these tips:
- Steaming: Place rolls in a damp towel-lined bowl, cover, and microwave for 20 seconds to restore softness.
- Misting: Spray lightly with water before toasting at 300°F for 5–7 minutes.
- Reheating: Warm in a preheated oven at 350°F for 10 minutes to regain crispiness.
Always cool baked goods completely before storing. Use parchment paper between layers to prevent sticking. Proper storage keeps your homemade sourdough rolls moist and tasty, whether eaten the same day or months later.
Pairing Suggestions for Your Freshly Baked Rolls
Once your quick sourdough rolls are ready, think beyond butter and jam. These rolls are perfect with the right flavors. They add a special touch to any meal.
Breakfast Pairings
Start mornings right with quick sourdough rolls split and toasted. Try:
- Sweet: Warm maple-glazed bacon with berry compote or cinnamon-swirl cream cheese
- Savory: Poached eggs with hollandaise or avocado-tomato salsa
Lunch and Dinner Combinations
For main meals, serve rolls alongside:
- Hearty soups like tomato basil or potato leek
- Roasted vegetable platters with herb dips
- Grilled proteins such as herb-crusted chicken or salmon
Creating a Sourdough Bread Basket
Showcase your delicious sourdough bread with a curated basket. Include:
- Flavored butters (garlic-herb, sun-dried tomato)
- Small spreads in ramekins (fig jam, pesto)
- Seeded toppings for DIY customization
Present rolls slightly warmed for optimal texture. For gatherings, arrange on a woven basket with linen cloth for rustic elegance.
Conclusion: Enjoying the Rewards of Homemade Sourdough Baking
Homemade sourdough rolls mix convenience with skill. With fast sourdough recipes, you can make soft, tasty bread quickly. The sourdough starter tips help keep your starter active, making it a key kitchen tool.
Managing your starter gets easier over time. This lets you try new things like herb-infused dough or seeded rolls.
These rolls are more than just food. They open up new baking possibilities. Use your starter for quick flatbreads, tangy pizza crusts, or even sweet waffles. Each batch improves your skills, blending old traditions with today’s shortcuts.
Sharing freshly baked bread with others adds to the joy. It connects you to baking’s long history while fitting into today’s fast-paced lives.
Be flexible with your baking. Change recipes to fit your schedule or taste. Whether you like milder or sharper flavors, every change teaches you more. Baking becomes a journey of discovery, where patience and creativity shape each loaf.
Keep your starter alive and keep improving your techniques. Let sourdough’s versatility inspire your next baking adventure.
FAQ
What is the difference between quick sourdough rolls and traditional sourdough bread?
Quick sourdough rolls use fast fermentation to get soft, chewy results quickly. Traditional sourdough bread needs longer fermentation for deeper flavors.
Do I need a special type of flour to make homemade sourdough rolls?
All-purpose flour works, but bread flour is better for texture. Whole wheat flour adds flavor and nutrition.
How can I ensure my sourdough starter is active and healthy for baking?
Check for bubbles, rise, and a tangy smell. Regular feeding keeps it alive.
Is it possible to prepare dough for my sourdough rolls ahead of time?
Yes! Mix the dough, let it rise a bit, then shape and chill it. Bake later for better flavors.
What are some tips for achieving the perfect crust on my sourdough rolls?
Preheat your oven well. Use steam early to get a crispy crust. Try a pan of water or a covered dutch oven.
Can I add additional flavors or ingredients to my sourdough rolls?
Yes! Add herbs, cheeses, garlic, or seeds for savory. Or try honey, dried fruits, or chocolate for sweet. Just adjust moisture.
How should I store my quick sourdough rolls to keep them fresh?
Keep them in an airtight container at room temperature for 1-2 days. Refrigerate up to 5 days. Freeze for longer, wrapping well to avoid freezer burn.
What are common mistakes to avoid when making sourdough rolls?
Avoid under- or over-proofing, inactive starter, and wrong dough temperature. Follow timings and visual cues for best results.
How do I refresh my sourdough rolls after storing them?
Refresh by misting with water and warming in the oven or steaming briefly. This restores moisture and softness.
What are some good pairings for serving my homemade sourdough rolls?
Sourdough rolls are great with soups, salads, or sandwiches. Serve with flavored butters or spreads, or with breakfast for a special touch.