Table of Contents
“Baking is magic, and sourdough is its most enchanting spell.” – Chad Robertson, founder of Tartine Bakery
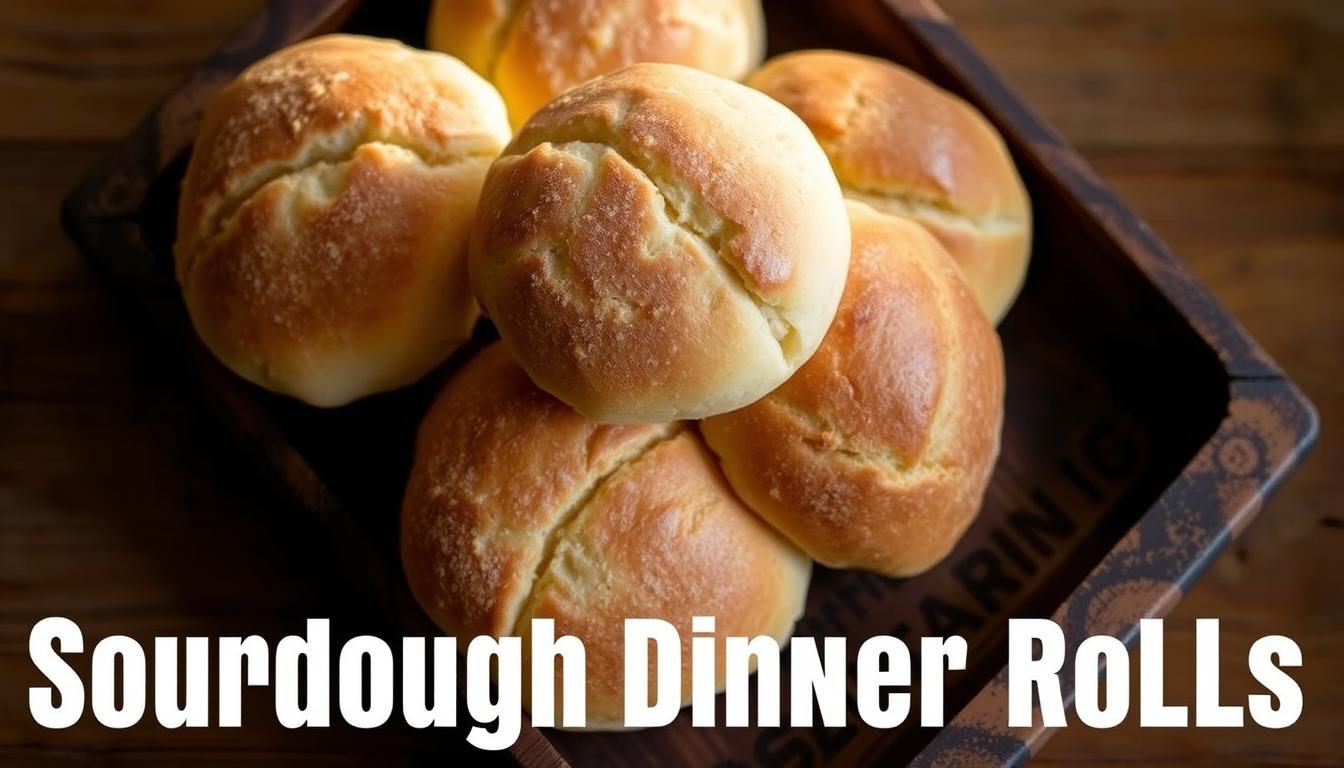
Turn sourdough discard into fluffy, buttery sourdough discard rolls with this guide. No more throwing away active starter! Make easy sourdough rolls full of tangy flavor and soft crumb. This guide shows how to make homemade sourdough rolls as good as bakery ones.
Discover how to use fermentation science and get the right ingredient ratios. Learn to shape perfect rolls. Whether you’re new to baking or experienced, find out how to make rolls that look like they came from a bakery. Each part explains the steps clearly, from mixing the dough to fixing rise problems.
Key Takeaways
- Use sourdough discard to cut waste and boost flavor in sourdough discard rolls.
- Master techniques for consistent rise and golden-brown crust.
- Adapt recipes with substitutions for gluten-free or sweeter homemade sourdough variations.
- Learn proofing tricks for any kitchen environment.
- Create easy sourdough rolls in under 24 hours with minimal hands-on time.
Understanding Sourdough Discard and Why It Makes Amazing Rolls
If you have a sourdough starter, you might know about sourdough discard. This is the part you take out before feeding your starter. It’s not trash; it’s a special ingredient for sourdough discard rolls. Using it makes your baking better and reduces waste.
What Exactly Is Sourdough Discard?
When you care for a sourdough starter, you add fresh flour and water. The leftover is the discard. Instead of tossing it, use it in baking with sourdough discard. It’s good for the planet and makes your baking more fun.
The Science Behind Sourdough Fermentation
Wild yeast and lactic acid bacteria in the discard do a lot of work. They make your rolls special:
- Yeast eats sugars, making the dough rise
- Lactic acid bacteria add tangy flavors and a soft crumb
- Acetic acid balances the taste and keeps the dough fresh
Flavor Benefits of Using Discard in Dinner Rolls
Discard’s pre-fermented state gives rolls a unique taste. Here’s how it compares to commercial yeast:
| Aspect | Sourdough Discard Rolls | Commercial Yeast Dough |
|---|---|---|
| Flavor Profile | Tangy, nutty, slightly sweet | Mild, uniform taste |
| Texture | Air pockets + moist crumb | Denser, tighter crumb |
These sourdough starter recipes make rolls that taste better and last longer. The natural acids slow down staling. This makes them perfect for special occasions or everyday meals.
Benefits of Using Sourdough Discard in Your Baking
Using sourdough discard in your baking makes your kitchen eco-friendly. Instead of tossing out starter “discard,” you make delicious dinner rolls. These rolls are full of natural tang and are a great way to save money on yeast and flour.
Each batch of bread is a chance to learn about fermentation. It helps you get better at baking over time.
- Nutritional boost: Fermentation makes minerals like iron and zinc easier to absorb.
- Flavor depth: Sourdough’s lactic acid adds complex, tangy flavors that store-bought rolls can’t match.
- Longer freshness: The natural preservatives in discard keep rolls soft for up to 3 days at room temperature.
Trying out sourdough discard ideas makes recipes simpler. You don’t need artificial additives because the wild yeast and bacteria in the discard do the work. Plus, the sourdough baking tips you learn here can be used for other breads too. This expands your recipe collection.
Whether you’re making garlic-herb rolls or cinnamon swirls, using discard reduces waste. It also deepens your connection to traditional baking methods.
Essential Ingredients for Perfect Sourdough Discard Rolls
Choosing the right ingredients makes sourdough discard rolls truly special. Each part affects the texture, taste, and how they rise. Let’s explore what makes homemade sourdough recipes stand out.

Flour Selection and Considerations
Flour is key to your rolls’ texture and structure. Bread flour (12–14% protein) gives chewy crusts. All-purpose (10–12%) offers softness. Whole wheat adds a nutty flavor but needs more liquid.
Try rye or spelt for something different in your homemade sourdough recipes.
The Role of Fats and Sweeteners
Fats like butter or coconut oil make the rolls tender. Milk or plant-based milks add moisture. Sweeteners like honey or sugar help fermentation and add sweetness.
Maple syrup adds a subtle caramel flavor.
Optional Flavor Enhancers
- Herbs (rosemary, thyme) for aromatic depth
- Grated cheese (parmesan, cheddar) for savory notes
- Seeds (sesame, poppy) for crunch
- Minced garlic or onion for boldness
Ingredient Ratios and Substitutions
Use a 1:2 ratio of discard to flour. You can replace up to 30% of all-purpose flour with whole grains. For gluten-free, mix rice and potato starch.
Need dairy-free? Coconut oil is a great substitute for butter.
Equipment You’ll Need for Baking Success
Starting with the right tools is key to sourdough baking success. Whether you’re making artisan sourdough bread or homemade sourdough dinner rolls, the right equipment is crucial. Here’s what you need and how to set up your workspace.
Must-Have Tools
These tools are a must for reliable baking:
- A sturdy mixing bowl (stainless steel or glass to prevent sticking)
- Digital kitchen scale (accuracy matters for precise flour and water ratios)
- Lame or sharp knife (for scoring dough to create artisan sourdough bread patterns)
- Parchment-lined baking sheet or Dutch oven (ensures even browning)
- Dough scraper (prevents waste while portioning rolls)
Nice-to-Have Accessories
Consider these optional tools to enhance your baking:
- Proofing baskets (help shape rolls while rising)
- Baking stone/steel (professional-grade heat distribution)
- Thermometer (monitors oven and dough temperature)
- Stand mixer (with dough hook attachment for large batches)
Setting Up Your Workspace
Make your kitchen more efficient:
- Clear 3-4 feet of counter space for dough handling
- Use a draft-free area for proofing (65-75°F ideal)
- Keep tools within arm’s reach to streamline steps
Even small kitchens can work well. Focus on the essential tools for the best results in your homemade sourdough creations.
Step-by-Step Process to Make Sourdough Discard Rolls
Start by getting your sourdough discard rolls ready with room temperature ingredients. You’ll need 150g discard (fed in the last 4 hours), 250g all-purpose flour, 120g warm water, 1 tsp salt, and optional herbs or sugar. Mix until a shaggy dough forms. Then, knead for 5–8 minutes until it’s smooth.
- Let the dough rest for 1–2 hours for bulk fermentation. It should double in size and spring back slowly when poked.
- Divide the dough into 12 equal pieces, shape into balls, and place in a greased 9×13-inch pan. Let it rise another 30–60 minutes until puffy.
- Bake at 425°F (220°C) for 15–20 minutes until golden brown. Cool on a rack before serving.
For easy sourdough rolls, skip cold fermentation. But refrigerating the dough overnight boosts flavor in baking with sourdough discard. Brush rolls with egg wash before baking for extra shine. If your dough doesn’t rise, adjust the proofing time or temperature.
- Test dough readiness with the poke test: indentation stays but slowly springs back.
- Use a Dutch oven for a crispy crust if your oven runs cool.
- Freeze unbaked shaped rolls for later use—simply thaw and bake 5 minutes longer.
Adjust baking time if using whole wheat flour, as it absorbs more moisture. These sourdough discard rolls are perfect with soups or stews—no need for store-bought alternatives!
Mastering the Art of Shaping and Proofing
Shaping and proofing are key to your sourdough discard rolls looking and tasting great. These steps transform raw dough into delicious, light rolls. Let’s dive into how to shape, proof, and adjust to your kitchen’s needs.

Different Shaping Techniques for Dinner Rolls
Try these methods to make your rolls look amazing:
- Classic Round: Make dough balls and fold edges in for tight rounds.
- Knotted: Roll dough into ropes, tie them loosely, and let them rise in a knot.
- Pull-Apart Clusters: Place dough close in a pan for rolls that bake together, perfect for sharing.
Signs of Properly Proofed Dough
Check your dough before baking with these tips:
- Do the poke test: Press the dough; it should bounce back slowly, not sink.
- Look at the size: The dough should have doubled, but not too much.
Managing Proof Times in Different Seasons
Adjust proofing times based on the weather:
- In summer, chill the dough for 30 minutes before baking to prevent overproofing.
- In winter, use a warm oven (off, with a bowl of simmering water) to keep it at 75-80°F.
Keep practicing these steps to get better at making artisan sourdough bread. With time, you’ll learn how to balance shaping and proofing for the best sourdough discard rolls.
Troubleshooting Common Issues with Sourdough Rolls
Even experienced bakers sometimes run into problems with sourdough discard rolls. Most issues can be fixed with simple changes to how you do things or what you use. Here are some common problems and how to solve them:
Dense or Heavy Rolls: Causes and Solutions
Dense rolls often come from not letting the discard ferment enough or from shaping too quickly. To fix this:
- Make sure your discard is active—use it within 12 hours of feeding your starter.
- Let the dough rise until it’s doubled in a warm, draft-free place.
- Knead it briefly to build gluten without overworking it.
Fixing Sticky Dough Problems
Sticky dough usually means you’ve added too much water. Here are some sourdough baking tips:
- Add flour slowly, a tablespoon at a time, to avoid drying it out too much.
- Use bread flour for better gluten structure.
- Chill the dough for 10 minutes to make it less sticky.
When Your Rolls Don’t Rise Properly
If your rolls don’t rise, it might be because your yeast isn’t active or it’s too cold. Try these solutions:
- Check if your starter is active: it should double in 4-6 hours.
- Preheat a Dutch oven or baking stone to keep the heat in during baking.
- Avoid over-proofing—look for a 1.5x dough expansion, not double.
Addressing Flavor Imbalances
If your rolls taste too sour or not sour enough, adjust how long you ferment them. For balanced sourdough recipes:
- Shorten fermentation time by 2-3 hours if they’re too tangy.
- Use discard that’s 8-12 hours old for the best flavor.
- Add mild herbs or butter to balance out strong sourdough flavors.
Creative Variations for Your Sourdough Discard Rolls
Transform your sourdough discard into stunning creations with these tips. Try adding minced rosemary or thyme to the dough for a herbaceous flavor. For cheesy rolls, mix in grated Parmesan or cheddar.
For a sweet treat, swirl cinnamon-sugar into the dough balls before proofing. Sprinkle orange zest into the dough for a burst of citrus.
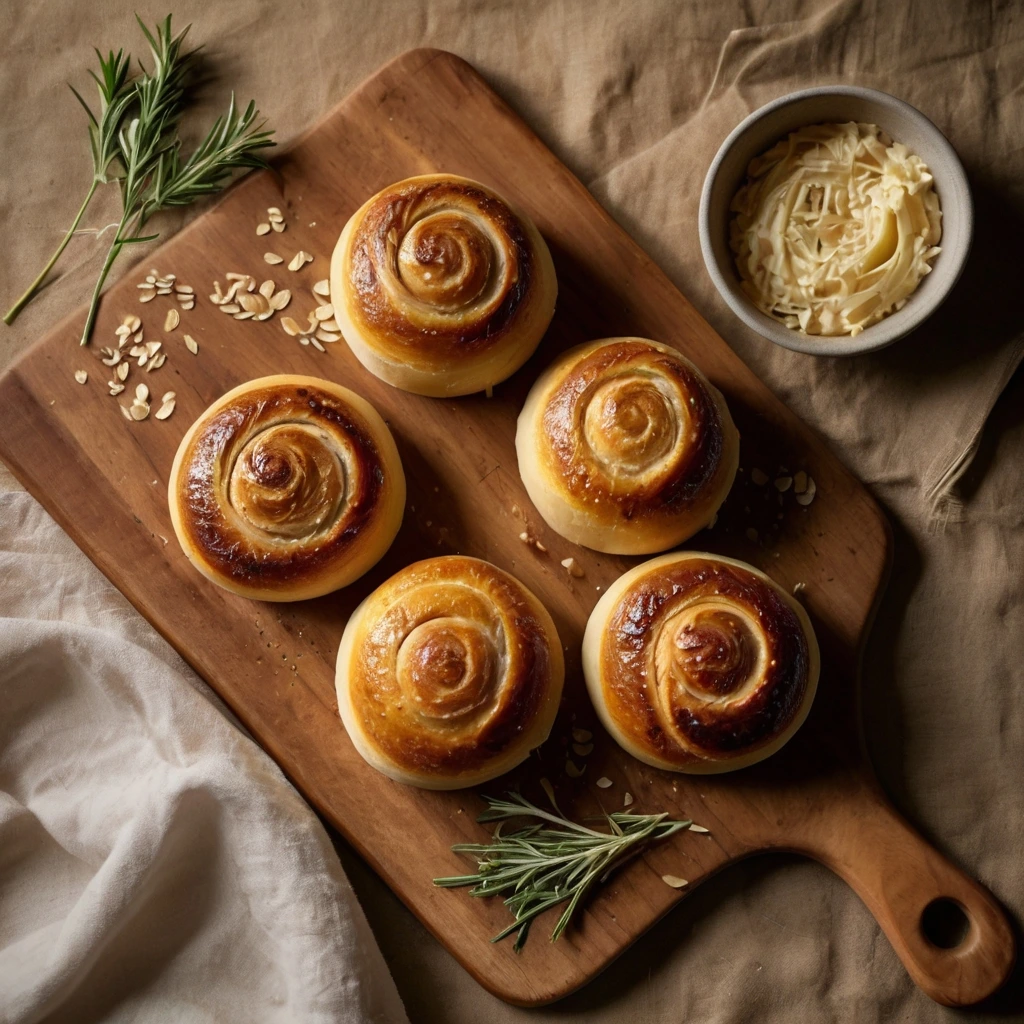
Play with dough shapes to explore new flavors. Wrap a dollop of fig jam in dough for sweet pockets. To get flaky layers, fold butter sheets into the dough before shaping.
When using whole grains, reduce the water by 10% to keep the dough right. For vegan rolls, swap honey for sugar and use oat milk instead of buttermilk.
| Variation | Key Additions | Adjustments |
|---|---|---|
| Herb-Crusted | Sprinkle coarse salt + dried herbs before baking | Brush dough with egg wash first |
| Cheesy Garlic | Shredded Gruyère + minced garlic | Reduce proof time by 15 minutes |
| Everything Bagel | Combine sesame, poppy seeds, and onion flakes | Press toppings into dough before rising |
For gluten-free rolls, use a 1:1 gluten-free flour blend for 50% of the flour. Keep an eye on how fillings affect rise times. Dairy-heavy rolls might need colder proofing.
Start with small batches to test these recipes. Let your creativity shine while sticking to the basics. This way, you’ll make the most of your sourdough discard.
Storing and Reheating Your Homemade Rolls
Keeping your sourdough discard rolls fresh is easy. Learn how to keep them airy and tangy for days or months. Simple techniques will help.
Counter Storage vs. Refrigeration
Let your homemade sourdough cool down completely before storing. For up to 3 days, store them in an airtight container at room temperature. The sourdough’s lactic acid slows down drying, but warmth speeds it up.
Avoid stacking rolls to keep them from getting soggy. For longer storage, refrigerate them in a sealed bag. They might get a bit firmer.
Freezing for Long-Term Storage
Freeze sourdough discard rolls for up to 3 months. Cool them down first, then wrap each in parchment or wax paper. Put them in a freezer-safe bag or container, squeezing out air.
Label the bag with the date. To thaw, unwrap the rolls and let them sit at room temperature for an hour before reheating.
Best Methods for Reheating
Here are some ways to revive your rolls:
- Oven method: Preheat to 350°F. Wrap rolls in foil and bake for 10–15 minutes for a crisp crust and soft center.
- Steam revival: Place rolls in a lidded pot with ¼ cup water. Bake uncovered at 325°F for 10 minutes.
- Quick microwave: Heat on 50% power for 15–20 seconds. Use a damp paper towel to trap moisture.
- Toaster method: For a crispy exterior, toast slices briefly or warm whole rolls on a rack.
Always check the texture and moisture before serving. Adjust the reheating time to avoid drying out the rolls.
Conclusion: Enjoying the Rewards of Your Sourdough Baking Journey
Mastering sourdough discard rolls turns waste into something tasty. These homemade sourdough creations show how small tweaks can make a big difference. Each batch teaches you patience and turns your kitchen into a place of learning and fun.
Starting with sourdough starter recipes, you’ve found out how versatile sourdough can be. You’ve learned about shaping and fixing dense dough, skills that help with other breads. Trying new flours or water levels opens up more possibilities, showing sourdough is about both discovery and detail.
Sharing these rolls with others makes baking a shared joy. The unique taste of homemade sourdough sparks conversations at family meals or holidays. As you get better, remember that every success or challenge helps you grow as a baker. Keep exploring new ideas and let your curiosity lead your next baking project.
See this journey as a path to sustainable, fulfilling cooking. With each successful bake, you cut down on waste and enjoy the pride of making your own sourdough. Every effort brings you closer to mastering a craft that feeds both your body and creativity. Keep your starter alive, your curiosity sharp, and your oven ready for the next adventure.
FAQ
What can I do with sourdough discard aside from making rolls?
You can make pancakes, waffles, pizza crusts, crackers, and pasta with sourdough discard. It’s a great way to reduce waste and enjoy homemade food.
How do I know if my sourdough starter is active enough for baking sourdough discard rolls?
Your starter is active if it doubles in size in 4–6 hours after feeding. It should smell tangy and have bubbles. Discard should still have yeast activity.
Can I make sourdough discard rolls without a stand mixer?
Yes, making rolls by hand is possible. Just knead the dough well to develop gluten for a good texture.
How long can I store my sourdough discard before using it?
Store discard in the fridge for up to a week. Freeze it if you won’t use it within that time.
Is there a way to adjust the hydration level of my sourdough discard rolls?
Yes, change the hydration by adjusting flour and liquid. More liquid makes rolls softer, less makes them denser. Adjust your techniques too.
What flour works best for sourdough discard rolls?
Bread flour is best for its high protein, which helps with gluten development. But you can also use all-purpose or whole wheat for flavor and nutrition.
Can I use commercial yeast in a sourdough discard roll recipe?
You can use commercial yeast with sourdough discard for a quicker rise. But it might change the sourdough flavors.
How do I know when my sourdough rolls are properly proofed?
The dough should be puffy and spring back when pressed. The “poke test” is a good way to check; if it slowly fills back, they’re ready.
What’s the best way to reheat leftover sourdough discard rolls?
Reheat crusty rolls at 350°F for 10 minutes. For soft rolls, steam them for a few minutes to add moisture back.