Table of Contents
“Baking is a dialogue between the baker and the dough.” – Chad Robertson, founder of Tartine Bakery
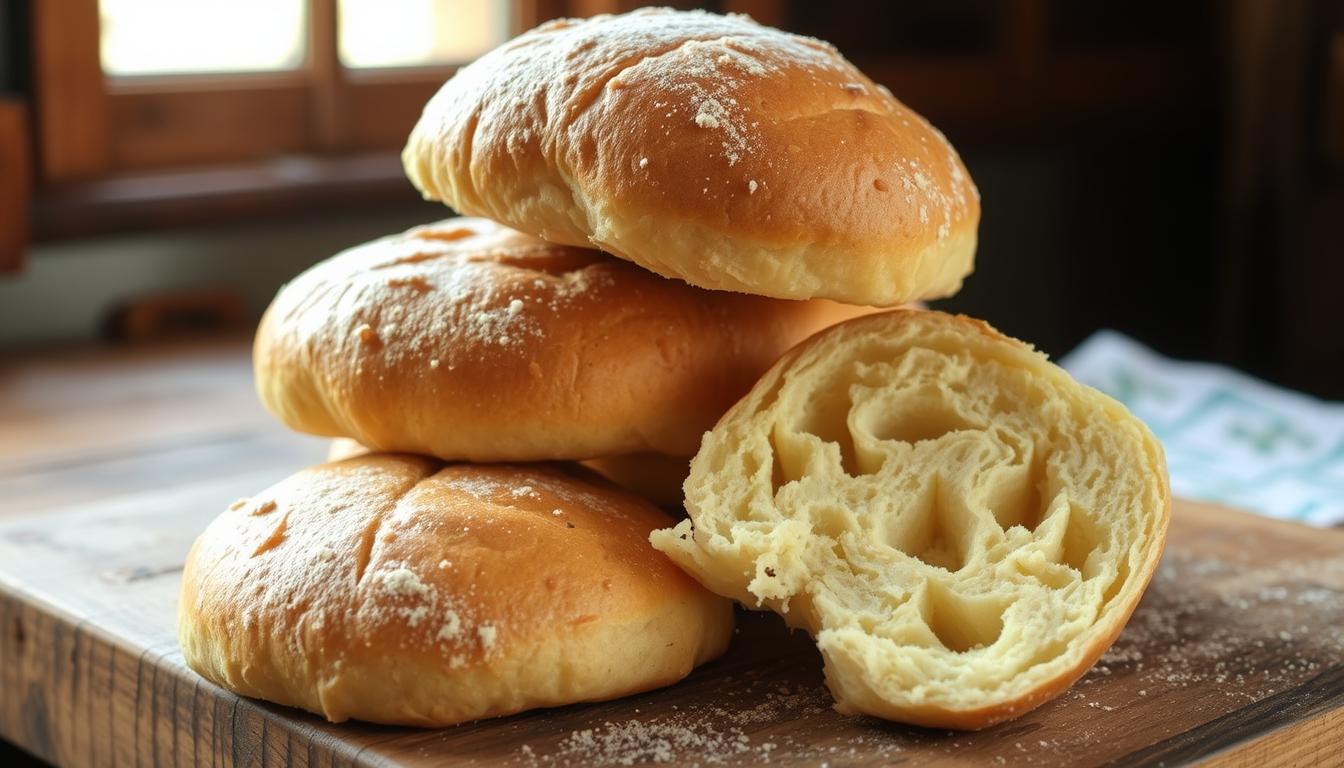
Want sourdough rolls with a crunchy outside and soft inside but scared of sourdough? This guide makes it easy. The easy sourdough rolls recipe simplifies things, letting you enjoy the fermentation process. Discover how homemade sourdough rolls can be a quick weeknight dinner or a special weekend treat.
Here, you’ll learn how to balance patience with practical steps. From taking care of your starter to shaping, each step is easy. These rolls are great for family dinners or holidays, showing that homemade sourdough is achievable.
Key Takeaways
- Use natural yeast’s power to rise rolls without commercial yeast.
- Save money by making homemade sourdough rolls instead of buying artisan bread.
- Shape rolls in 10 minutes using basic kitchen tools.
- Customize recipes with herbs, cheese, or seeds for endless variety.
- Freeze dough for last-minute baking emergencies.
Why Sourdough Rolls Are Worth Making at Home
Making sourdough bread rolls at home is more than a hobby. It’s a smart choice. Homemade rolls offer health benefits, a unique taste, and save money. Let’s explore the advantages.
Health Benefits of Sourdough Fermentation
- Long fermentation breaks down gluten and phytic acid, easing digestion for many.
- Prebiotics in sourdough bread rolls feed good gut bacteria, promoting gut health.
- Lower glycemic index compared to regular bread, aiding blood sugar control.
The Unique Flavor Profile of Homemade Sourdough
Store-bought artisan sourdough rolls can’t compare to homemade ones. Best sourdough rolls have a tangy, complex flavor from slow rise times. You can adjust the sourness and add herbs or seeds for a personal touch.
Cost Savings Over Store-Bought Artisan Rolls
| Aspect | Store-Bought | Homemade |
|---|---|---|
| Cost Per Roll | $1.00–$2.00 | $0.25 |
| Active Prep Time | N/A | 10 minutes |
| Total Time | Instant | 4–6 hours (mostly waiting) |
A dozen homemade sourdough bread rolls cost about $3. Store-bought rolls cost $12–24. The savings are significant.
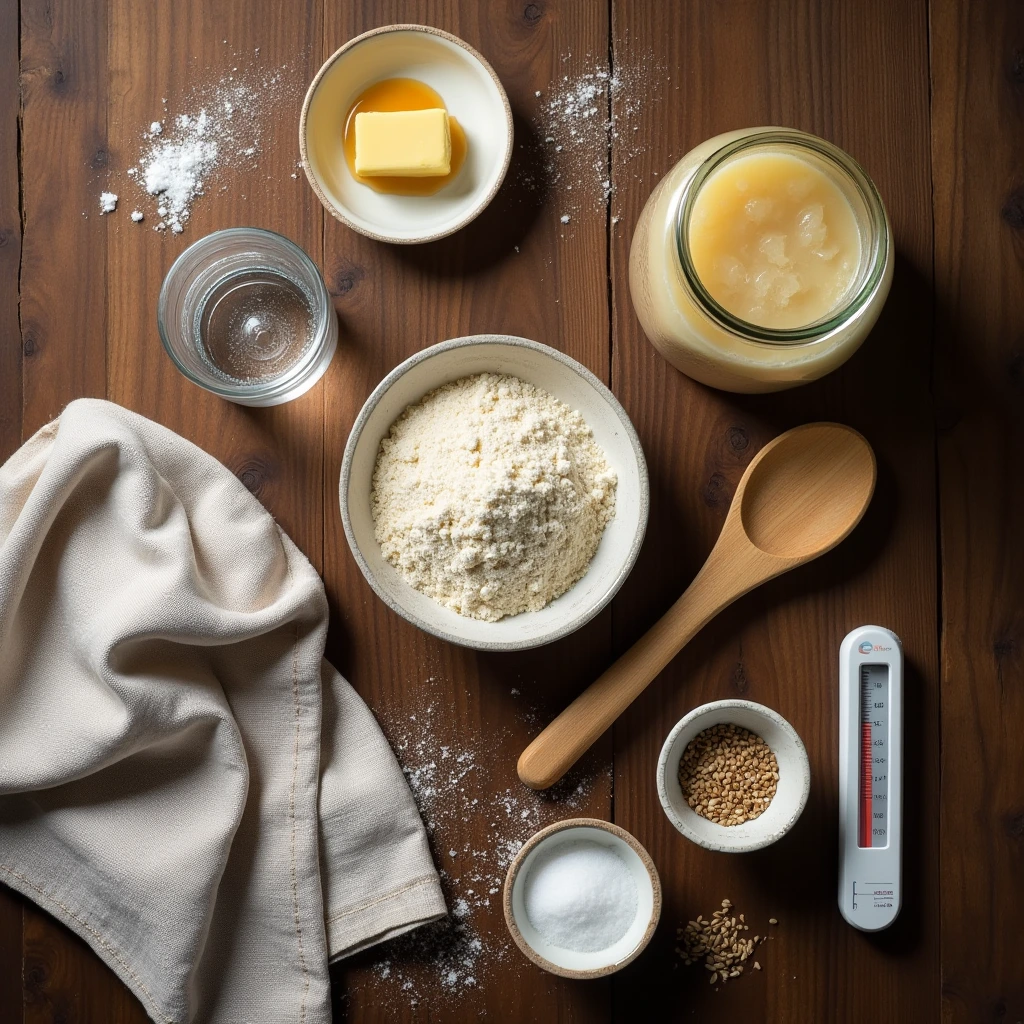
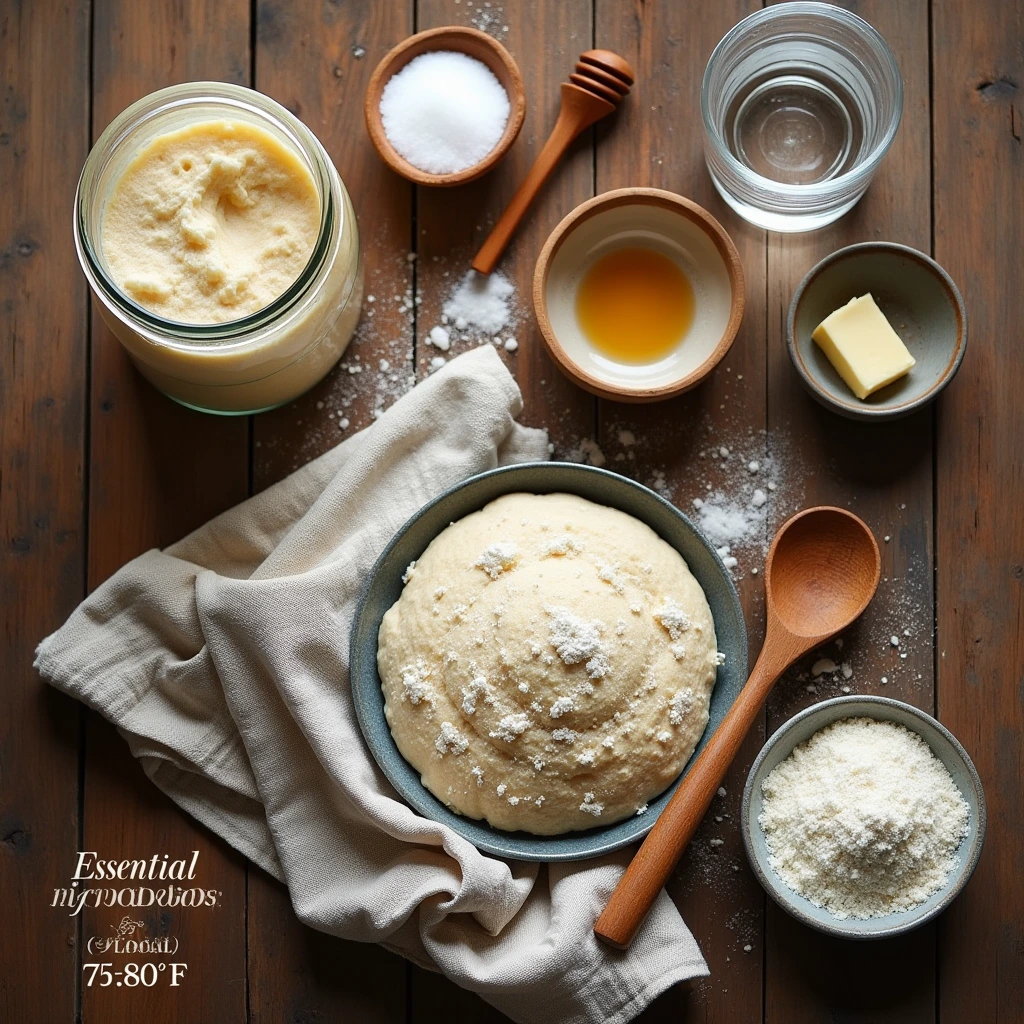
Essential Ingredients for Perfect Sourdough Rolls
Mastering the sourdough roll recipe begins with the right ingredients. Each part is crucial for the texture, taste, and rise of your homemade sourdough rolls. Start with a mature sourdough starter. This living culture adds natural leavening and flavor.
Look for active starter with bubbles and a tangy smell for the best results.
Flour choices shape the dough’s structure. Bread flour gives chewy interiors, while all-purpose flour balances tenderness and rise. For sourdough dinner rolls with a nutty flavor, mix 50% whole wheat flour with bread flour.
Always measure flour by weight or the “dip and sweep” method to avoid too much.
Water quality is also key—use filtered or bottled water to prevent off flavors. Adjust the water temperature to 75–80°F (24–27°C) for best results. Salt enhances flavor and controls yeast activity; use fine sea salt for even distribution.
Optional additions like honey, melted butter, or seeds add moisture and nutrition without overpowering the recipe.
Substitutions are possible: Replace 10–15% of bread flour with rye flour for a sharper sourness. Use up to 25% gluten-free options like oat or buckwheat for dietary needs, but note it may affect rise. Always adjust liquid ratios when changing ingredients to keep dough consistency.
Choose fresh, unbleached flour and pure ingredients for the best results. Properly balanced ingredients ensure your homemade sourdough rolls have an airy crumb and golden crust. Experiment to find your perfect batch.
Understanding Your Sourdough Starter
Your starter is the heart of sourdough roll baking tips. Mastering its behavior ensures perfect easy sourdough rolls. Here’s how to keep it thriving:
How to Tell When Your Starter is Ready
Before mixing dough, check these signs:
- It doubles in size within 4-6 hours after feeding.
- Develops a bubbly, active surface.
- Floats in water—proof it passes the “float test.”
Maintaining a Healthy Starter for Better Rolls
Use this guide to keep your starter active:
| Feeding Schedule | Storage |
|---|---|
| Feed every 8-12 hours at room temp | Use a glass jar with headspace |
| Cold storage: feed weekly | Keep tightly sealed in fridge |
Troubleshooting Common Starter Issues
Fix problems fast with these solutions:
| Problem | Cause | Solution |
|---|---|---|
| Slow rise | Old or underfed starter | Feed more frequently; discard excess |
| Unpleasant odor | Overripe or neglected | Refresh with equal parts flour/water |
| Watery consistency | Overfeeding | Reduce feeding ratio to 1:1:1 (starter:flour:water) |
A healthy starter means better sourdough rolls. Adjust care routines based on your schedule and environment for consistent results.
Step-by-Step Sourdough Rolls Recipe
Learn how to make the sourdough roll recipe with this easy guide. Follow each step carefully to get the best sourdough rolls. Use these tested methods:
Mixing and Kneading the Dough
Begin by mixing your starter, flour, water (85–90°F), and salt in a bowl. Mix until there’s no dry flour left. Knead for 8–10 minutes by hand or 5 minutes with a stand mixer’s dough hook. The dough should be smooth and slightly sticky.
Bulk Fermentation Tips
- Let the dough rise in a greased bowl, covered, for 4–6 hours at 70–75°F.
- Check if it has doubled in volume and looks bubbly before moving on.
- Do 2–3 sets of stretch-and-folds in the first 2 hours to strengthen the dough.
Shaping Perfect Rolls
Split the dough into 3-ounce pieces. Shape each by pulling the edges under, creating tension without deflating. Place on a parchment-lined baking sheet, leaving 2 inches between each roll. Let rest for 30 minutes to regain volume.
Baking for Optimal Rise and Crust
Heat your oven to 450°F with a Dutch oven inside. Score each roll with a sharp knife or razor blade to help it expand evenly. Bake covered for 15 minutes, then uncover and bake 10–15 more minutes until golden. Check if it’s done with a 200–210°F internal temperature.
Pro tip: Rotate pans halfway through baking for even browning. Cool rolls on a rack—enjoy warm or store in an airtight container for up to 3 days.
Equipment You’ll Need for Baking Sourdough Bread Rolls
To bake sourdough bread rolls like a pro, you need the right tools. Start with the basics: a mixing bowl, measuring spoons, and a baking sheet. A digital scale is key for getting the right mix of ingredients, which is crucial for homemade sourdough rolls. A dough scraper makes handling sticky dough easy, without sticking to your hands.
- Mixing bowl: Glass or stainless steel bowls are best for easy cleaning.
- Digital kitchen scale: It’s important for measuring flour by weight for consistent results.
- Baking sheet: Use parchment paper to prevent the rolls from sticking.
- Dough scraper: It’s essential for folding and shaping without over-working the dough.
Upgrading your tools can improve your baking. A Le Creuset or Lodge Dutch oven helps create artisan sourdough rolls with a crispy crust. A baking stone ensures even browning. If you don’t have a baking stone, use a roasting pan upside-down. A bench knife is handy for dividing dough into even rolls.
Get a thermometer to check your oven’s temperature. Use a bench spatula to move rolls without damaging them. If you don’t have a Dutch oven, boil water in a pan below the baking sheet to create steam. Focus on essential tools like scales and scrapers first. Then, add special items as you get better at baking.
Time-Saving Tips for Busy Bakers
Mastering sourdough rolls doesn’t need a whole day. These tips help you make homemade bread without losing time:

Make-Ahead and Freezing Options
- Freeze dough after bulk rise: Wrap tightly in parchment and plastic wrap, storing up to 3 months.
- Shape rolls, then freeze on a baking sheet. Once solid, transfer to a ziplock bag for quick baking later.
- Reheat baked rolls at 350°F (175°C) for 10 minutes—perfect for weeknight meals.
Overnight Refrigeration Method
Cold fermentation makes mornings easier. Mix dough with 50% starter, then refrigerate overnight. This slows down fermentation, deepens flavor, and lets you bake fresh sourdough dinner rolls in 30 minutes the next day. Adjust proofing time by 25% to avoid overactivity.
Use these methods together to make your process smoother. Prepped dough or frozen rolls mean easy sourdough rolls are always ready, for breakfast or holiday gatherings. Don’t sacrifice quality for convenience—your time is precious.
Creative Variations for Your Sourdough Rolls
Try new things with your sourdough rolls. You can make them sweet or savory. These ideas will help you make sourdough dinner rolls that everyone will love. You can add different ingredients or shape them in fun ways.
Sweet and Savory Add-ins
Add flavor to your sourdough bread rolls by mixing in ingredients when you shape them. For the best sourdough rolls, try these:
- Sweet: cinnamon-sugar, dried cranberries, or dark chocolate chunks
- Savory: minced garlic, grated parmesan, sun-dried tomatoes, or chopped olives
Shape and Size Alternatives
Don’t just make round rolls. Try these shapes:
- Knots: twist dough strands into pretzel-like twists
- Crescents: roll logs of dough into crescent moons
- Pull-apart clusters: braid or nest dough pieces in a baking dish for shareable portions
Thicker shapes might need a bit more time to rise.
Special Occasion Sourdough Roll Ideas
Make rolls for special times:
- Thanksgiving: mix thyme and shredded gruyere into rolls for a savory centerpiece
- Christmas: fold in dried cherries and orange zest for festive sourdough dinner rolls
- Game Day: shape into mini slider buns with garlic butter swirls inside
Smaller rolls might need 2-5 minutes more in the oven.
Serving Suggestions for Fresh Sourdough Rolls
Enjoy your homemade sourdough rolls when they’re warm. This is best right from the oven or after a gentle reheat. If you made them earlier, warm them in a 300°F oven for 5-7 minutes. This will bring back their light and airy texture.
Pair your rolls with spreads that match their tangy flavor. Try herb-infused butter, garlic-infused oils, or a drizzle of aged balsamic. For a simple yet elegant touch, serve with flaky sea salt and extra-virgin olive oil.
- Meals: Use sourdough dinner rolls to soak up hearty soups like tomato or lentil. They’re also perfect alongside roasted meats or as the base for pulled pork sliders.
- Creative twists: Hollow out rolls to create mini bread bowls for chowder or dip. Stuff them with eggs and cheese for a savory breakfast sandwich.
- Occasions: Dress up a casual meal with artisan sourdough rolls for a rustic touch. For gatherings, arrange them in a woven basket with linen to enhance their homemade charm.
Homemade sourdough rolls can make any meal special. Try these ideas to show off their natural sourdough flavor. Keep your presentations fresh and inviting.
Troubleshooting Common Issues with Sourdough Rolls
Mastering sourdough roll baking tips means knowing how to fix common problems. Let’s tackle the most frequent issues and how to solve them.

Rising Problems? Check These Fixes First
- Starter sluggish? Test your starter by feeding it. If it doesn’t double in 4-6 hours, feed it again before use.
- Cold kitchen? Use an oven with a warm water towel or a proofing box to maintain 75-80°F (24-27°C).
- Overworked dough? Reduce kneading time. Overworking can damage gluten structure, stifling rise.
Fixing Dense or Gummy Centers
A sourdough roll recipe gone wrong? Try these steps:
- Adjust hydration: Dense rolls often mean too little water. Add 2-3% water next batch.
- Bake at correct temps: Preheat a Dutch oven to 475°F (245°C). A gummy center means underbaking—extend time by 5-10 minutes.
- Cool completely: Let rolls rest on a rack. Trapping steam causes moisture retention.
Adapting to Your Kitchen’s Climate
High altitude? Reduce starter by 10% and increase bake time. Humid days? Lower hydration by 2%. Winter baking? Proof rolls near a radiator or heater. Small tweaks ensure your easy sourdough rolls rise perfectly every time.
Remember: Every issue points to a learning moment. Adjust, retry, and celebrate progress!
Conclusion: Enjoying Your Homemade Sourdough Roll Journey
Baking homemade sourdough rolls is more than a recipe—it’s a skill that grows with practice. Every batch you make brings you closer to mastering the balance of time, technique, and patience. Celebrate each success, from the first rise to sharing them with loved ones.
Sourdough rolls reward persistence, so don’t shy away from small imperfections. They’re part of learning how fermentation and ingredients interact to create that signature tangy, airy texture.
Document your progress by jotting down notes or photos. Track how temperature or starter strength affects your sourdough bread rolls. Over time, these records become a guide for perfecting future loaves.
Sharing your creations with friends or at gatherings adds meaning to the process. The joy of homemade sourdough rolls lies in their warmth and the pride of crafting something authentic from scratch.
Join online forums or local baking groups to connect with other enthusiasts. Their tips can help refine your technique, whether shaping rolls or troubleshooting texture. Every baker, even professionals, started where you are now.
Keep experimenting with flavors like herbs or seeds, and let each attempt build your confidence. With every rise of the dough, you’re not just making bread—you’re joining a tradition of home bakers who turn flour and time into something extraordinary.
FAQ
What makes your sourdough roll recipe special?
Our sourdough roll recipe combines traditional flavors with easy techniques. This makes it perfect for bakers of all levels. The result is soft, tasty rolls with a sourdough tang, all without being too hard to make.
How can I tell if my sourdough starter is ready to use?
Check if your starter has doubled in size and is bubbly. It should also pass the float test. This means a spoonful of starter floats in water. Use it after it’s been fed and rested at room temperature for 4-6 hours.
Can I use all-purpose flour instead of bread flour for sourdough rolls?
Yes, you can use all-purpose flour for sourdough rolls. But bread flour gives a chewier texture because of its higher protein. If using all-purpose flour, you might need to adjust the dough’s moisture for the best taste.
What are some common issues when making sourdough rolls?
Issues include rolls not rising, being too dense, or baking unevenly. Problems like an inactive starter or wrong proofing can cause rising issues. Also, wrong hydration and baking temperature can make rolls dense. Fixing these problems helps improve your rolls.
How can I make my sourdough rolls sweeter or more savory?
For sweet rolls, add cinnamon, dried fruits, or chocolate chips. For savory, try herbs, garlic, cheese, or olives. Add these at the right time for even flavor.
What are some time-saving tips for busy bakers wanting to make sourdough rolls?
Use make-ahead methods like freezing dough at different stages. Or try an overnight refrigeration for slower fermentation. This way, you can enjoy fresh rolls without spending all day baking.
How should I store leftover sourdough rolls?
Store leftover rolls in a paper bag at room temperature for freshness. You can also freeze them in plastic wrap or foil to keep moisture and flavor. Reheat them in the oven when you’re ready.
What equipment is essential for baking sourdough bread rolls?
You’ll need a mixing bowl, measuring tools, and a baking sheet. For better results, consider a digital scale, dough scraper, and a Dutch oven for crust formation.
How can I serve my homemade sourdough rolls?
Serve warm rolls with spreads like herb butter or olive oil. They’re great with soups, salads, or as bases for sliders or mini bread bowls.
Are there any health benefits to making sourdough rolls at home?
Yes! Homemade sourdough rolls have health perks from fermentation. They may be easier to digest and have a lower glycemic index than regular bread. The fermentation also adds prebiotics to the bread.